Copyright © 2023. All rights reserved.
[Français]
Home
Services
Electronic solutions
Ongoing projects
Injectors
High impedance injectors
Low impedance injectors
Injector accessories
Pumps
Fuel pumps
Water pumps
Fuel pressure regulators
Accessories
Engine
Turbo
Check valves
Seals
O-rings
TEFLON intake seals
Specific seals
Connectors for liquids
Electrical connectors
Bodywork
Other parts
Special 405 T16 and transmission x 4
Engine accessories
Hoses
Engine/transmission management parts
Clutch
Clutch control
Exhaust
Parts box transfer T16 and x 4
Other parts of transmission T16 and x 4
Kits turbo GT 2860RS
Kits turbo GT 2871R
GTX 2867R Gen 2 turbo kits
Injection parts kits
ECU reprogramming for modified cars
ECU reprogramming for original cars
Gearbox ME5
Transmission/Clutch
BRESCH engine management parts
Terms & Conditions
Engine/transmission management parts
1
2
3
4
5
6
...
19
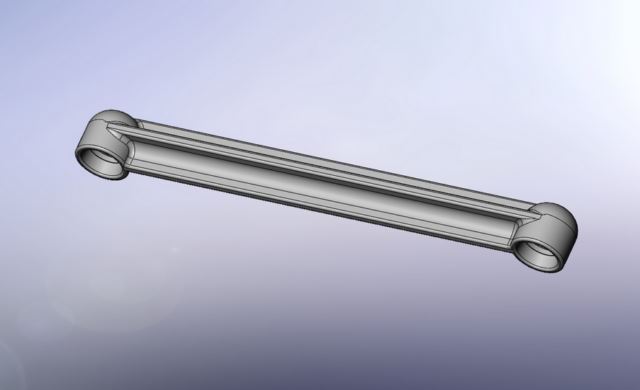
NEW: Connecting rod for ride height sensor
1
2
3
4
5
6
...
19
Site web créé avec Lauyan TOWeb
Dernière mise à jour : vendredi 22 mai 2026